

You’ve unpacked your brand-new telescope, lovingly assembled it, and waited like a child on Christmas Eve for the sun to set. Like many first-time sky gazers, you probably pointed the eye of your instrument toward our closest celestial neighbour, the moon. Perhaps your experience was interesting at first, then underwhelming and at worst, disappointing. The moon was a hazy white blur and the craters and mountains appeared to be nothing but grey splotches.
Many first-time astronomers have high expectations of what they should be able to see through their telescopes. Thanks to the Hubble Space Telescope (HST) and the internet, dazzling pictures of our galaxy are thankfully ubiquitous. This leads many to believe that they should be able to see the same breathtaking array of colours and sights that it takes a multimillion dollar spacefaring telescope and hours of photo retouching to deliver.
So, before you get upset and smash your telescope or jump on the internet and let loose your frustration on the store for selling you a bum product, you may need to consider if you are missing a critical piece of equipment, telescope filters.
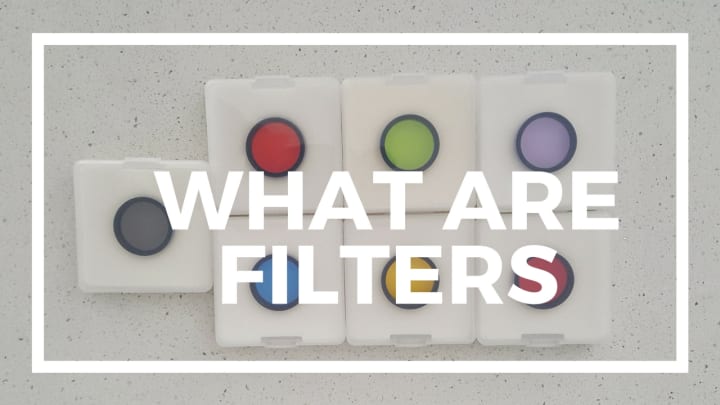
You can usually purchase a whole set of filters
Quite simply, filters are coloured pieces of glass that can be screwed into the bottom your eyepiece. Telescope filters bring out the detail of an object by cutting down or emphasising different light wavelengths. To repurpose a quote from Shakespeare’s tragic Prince of Denmark, the filter’s the thing which will make the universe sing.
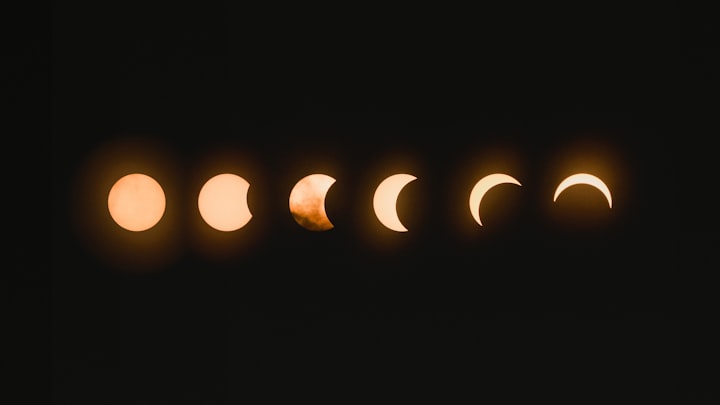
It may seem to defy common sense to say that too much light can be a problem when looking into the night sky, but it is. Take the moon for instance, it’s basically a massive reflective surface for light from the sun. So, a moon filter (which comes standard with most decent astronomical telescopes) is essential to bring down the glare.
Then there is light pollution. Unless you live a good distance from civilization, and I mean a very good distance, ambient light can be a massive challenge. A circular polarising lens (CPL) will be useful to cut the extra light and darken the sky and make planets, stars, and moons sharper. Below you will find a list of some of the most basic filters and what objects in our solar system and beyond they enhance.
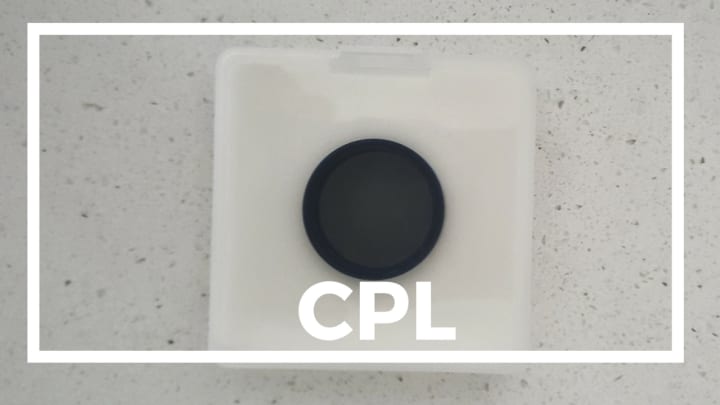
Along with a moon filter, a CPL should be a standard accessory for your telescope. As mentioned, it cuts down on ambient light and sharpens what you see through the eyepiece. It can be stacked with other filters (a little more on stacking later on) so feel free to leave it attached through the night.
Best to view:
Everything

Most companies are generous enough to include this filter along with a couple of extra eyepieces along with their telescopes. In addition to making the craters on the moon pop, it does provide a bit of a safety feature as well.
Although it may not seem so there is a lot of sunlight reflecting off the moon, looking at it through a telescope for prolonged periods can damage your eye. Think of a moon filter as sunglasses for your telescope.
Best to view:
The Moon (duh)
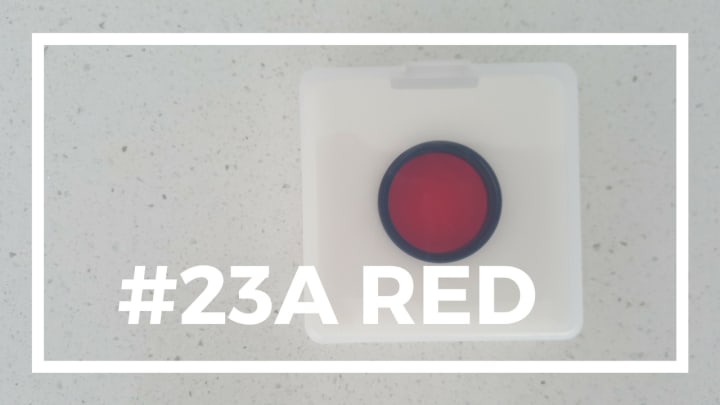
Sharpens the image of our red tinted neighbours in the solar system.
Best to view:
- Mars - Highlight: The Martian surface and ice caps
- Jupiter - Highlight: The Great Red Spot
- Saturn
- Mercury
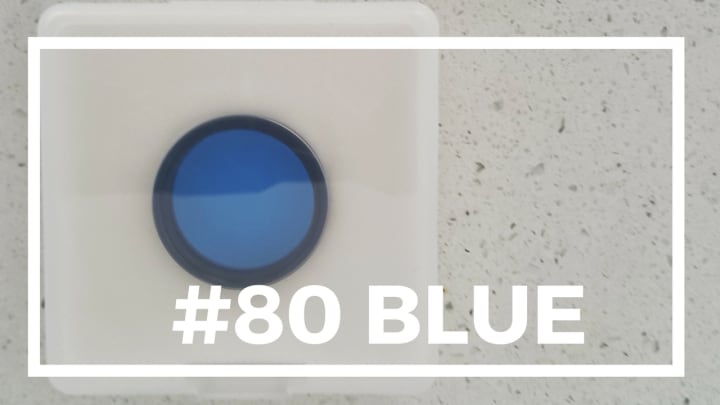
Enhances, red, orange, and blue.
Best to View
- Mars
- Jupiter - Highlight : Jupiter’s Great Blue Festoon
- Saturn
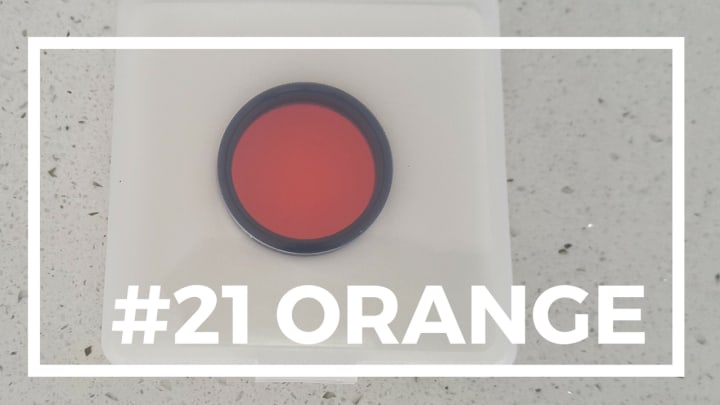
Good substitute for a moon filter and brings out the ring and belt systems of various planets.
Best to View
- Venus
- Jupiter
- Mars
- Saturn - Highlight: Rings of Saturn
- Moon
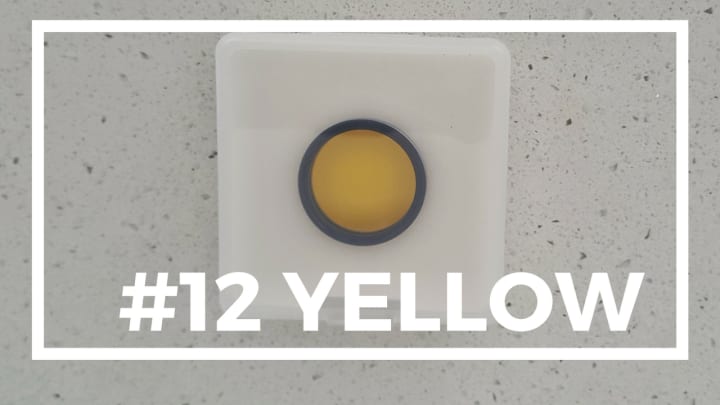
Similar to #23A Red. It’s interesting to alternate between the two to see the contrast between the images.
Best to view:
- Mars - Highlight: The Martian surface and ice caps
- Jupiter - Highlight: The Great Red Spot
- Saturn
- Mercury
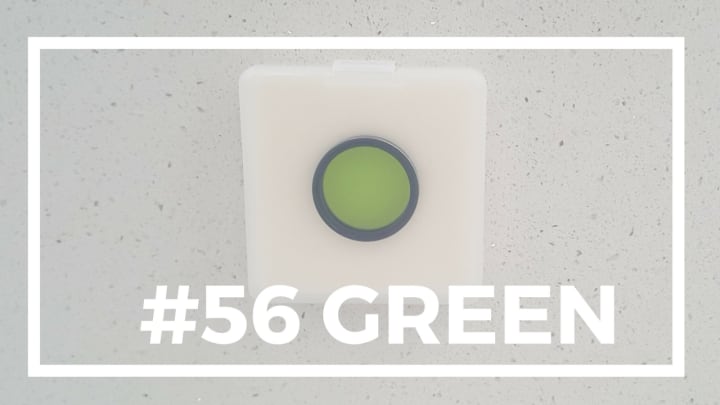
Sharpens atmospheric traits like clouds.
Best to view:
- Moon
- Mars
- Saturn
- The Binary Star Antares
Stacking
As hinted at before, filters can be stacked, that is screwed into each other and then screwed into your eyepiece, to enhance an image. The CPL for instance can be combined with other filters to both reduce ambient light and heighten planetary features. Experiment with different combinations of filters to get the best outcome.
Here is an example of a midrange set of filters you can get to make the universe pop the next time you head out to gaze at the night sky.
About the Creator
Rupert Missick
Rupert is a devoted husband, father, geek and lover of great bbq.
Keep reading
More stories from Rupert Missick and writers in Futurism and other communities.
Software Development Outsourcing: Achieving Project Quality
Introduction IT software development projects fail for several reasons, but the success stories have something different to say. A well-planned approach to collaborating with a software outsourcing company can help organizations achieve a competitive edge.
By Mukesh Ram4 days ago in Futurism


Comments
There are no comments for this story
Be the first to respond and start the conversation.